Are you creating a presentation, teaching an interactive online lesson or making web tutorials? Sharing your desktop can be vital to your online presence and the delivery of your content. With ManyCam you can easily share your desktop live or record your screen. Here is a step-by-step guide on how to screencast your desktop, a selected area or a specific application with ManyCam on your live streams.
Screencast your Desktop
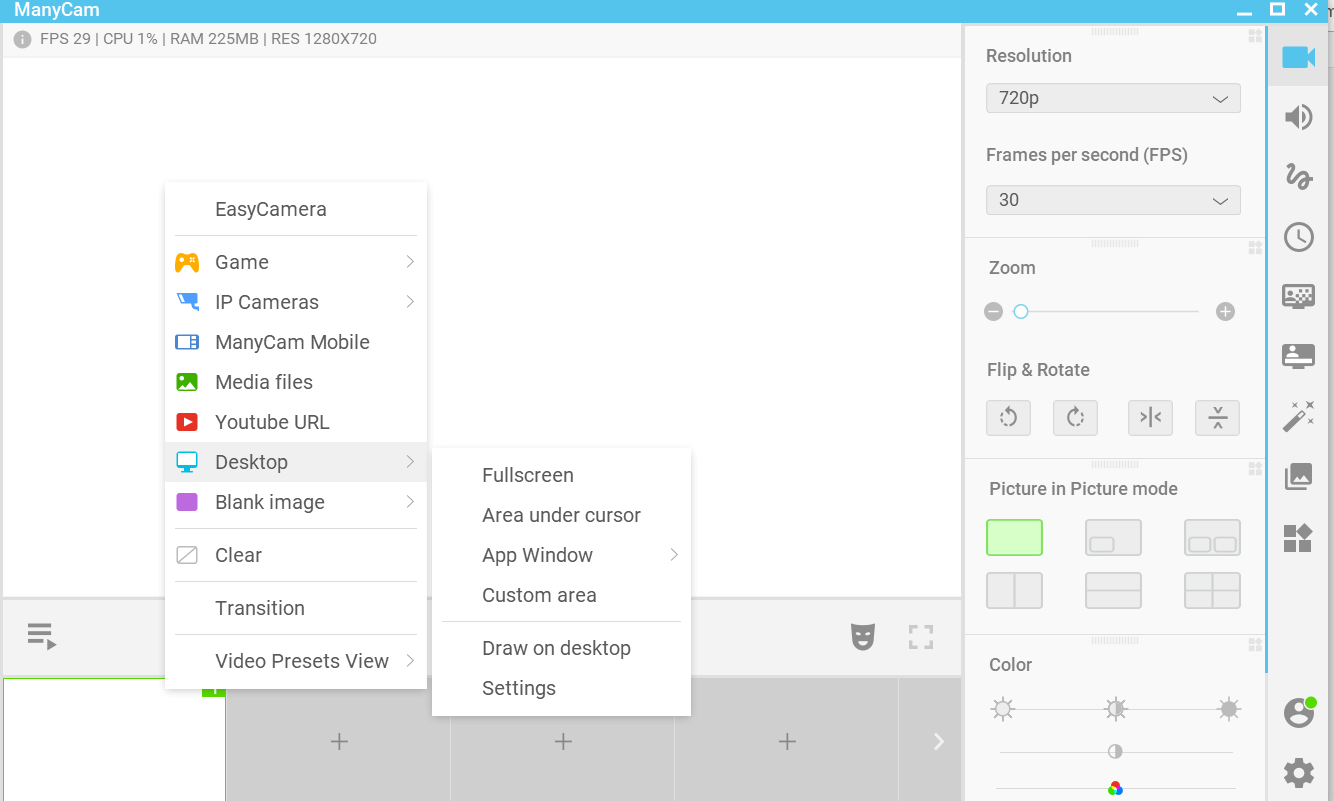
First, launch ManyCam and right-click on the video source you wish to use as shown below. Then choose one of the following options to screencast your desktop:
Sharing your Full screen
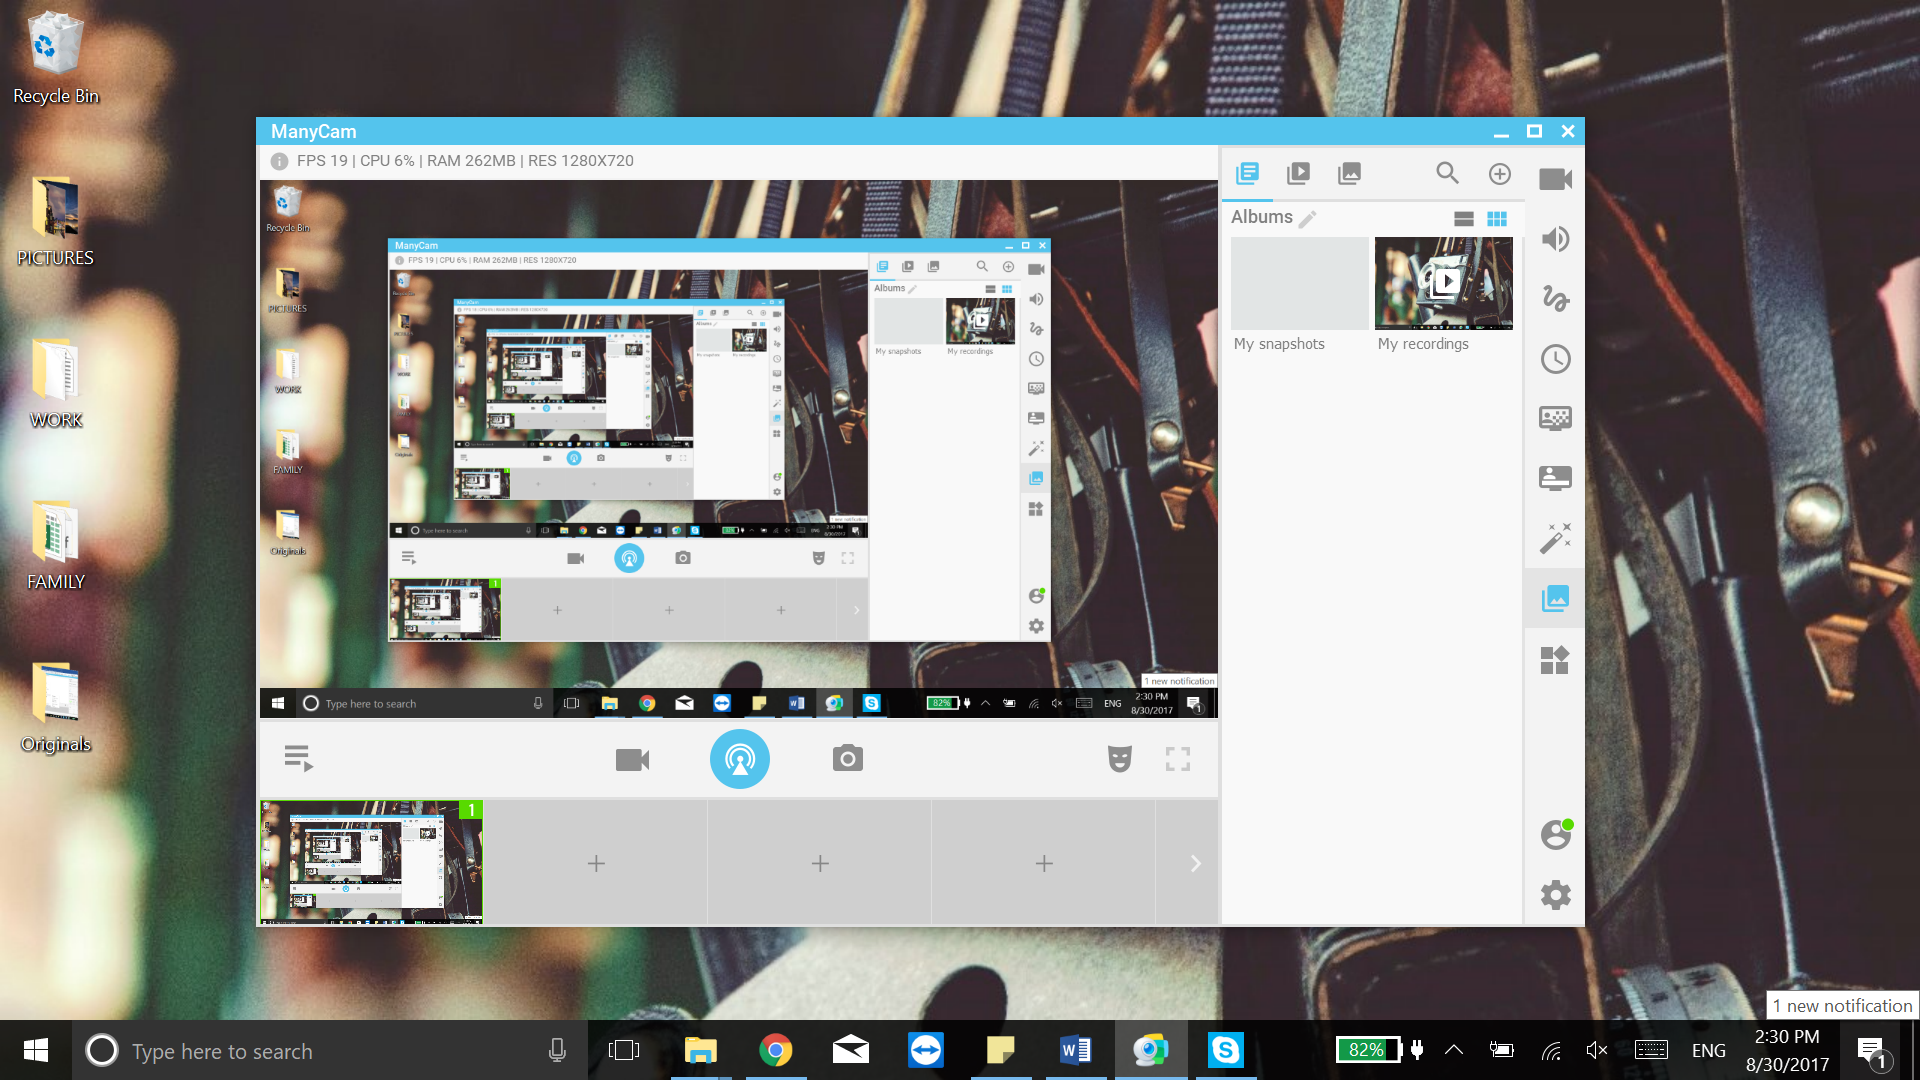
If you’re running a web tutorial or a class that involves presenting your whole screen, navigating through multiple folders or settings on your computer, then you just need to select the “Full Screen” option. Start sharing your content on the spot with ManyCam.
Area under cursor
A precise and entertaining presentation can be done by focusing on the path of the cursor and showing your actions to the audience. The “Area under cursor” function allows you to share the area around your cursor, making sure your viewers are right there with you, focused on what you’re doing. To adjust the size of that area, you can use the Zoom feature hotkeys: ALT+A (zoom in) and ALT+S (zoom out).
App window
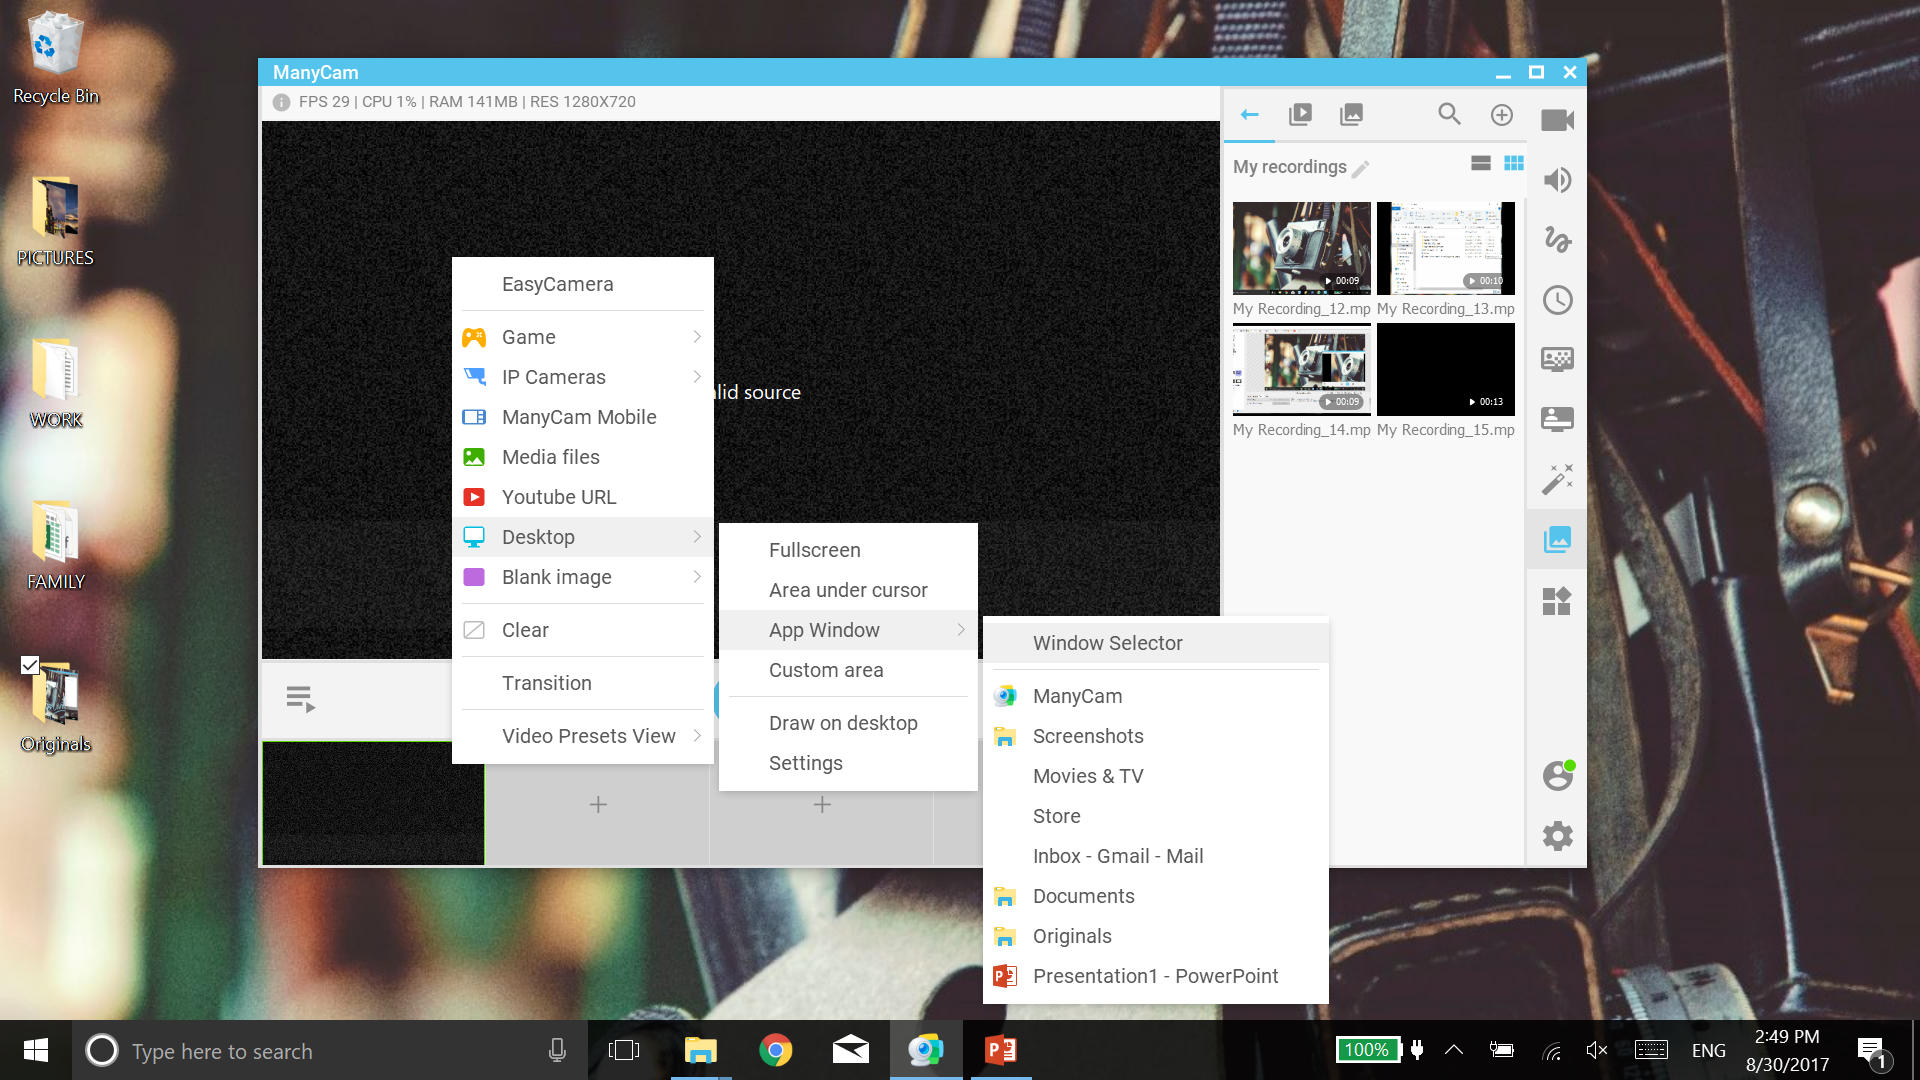
If, for example, you are doing a webinar showcasing an application, going through a folder or using a web page, you can choose to share only that specific window with your viewers, by clicking on “App Window” and choosing the window.
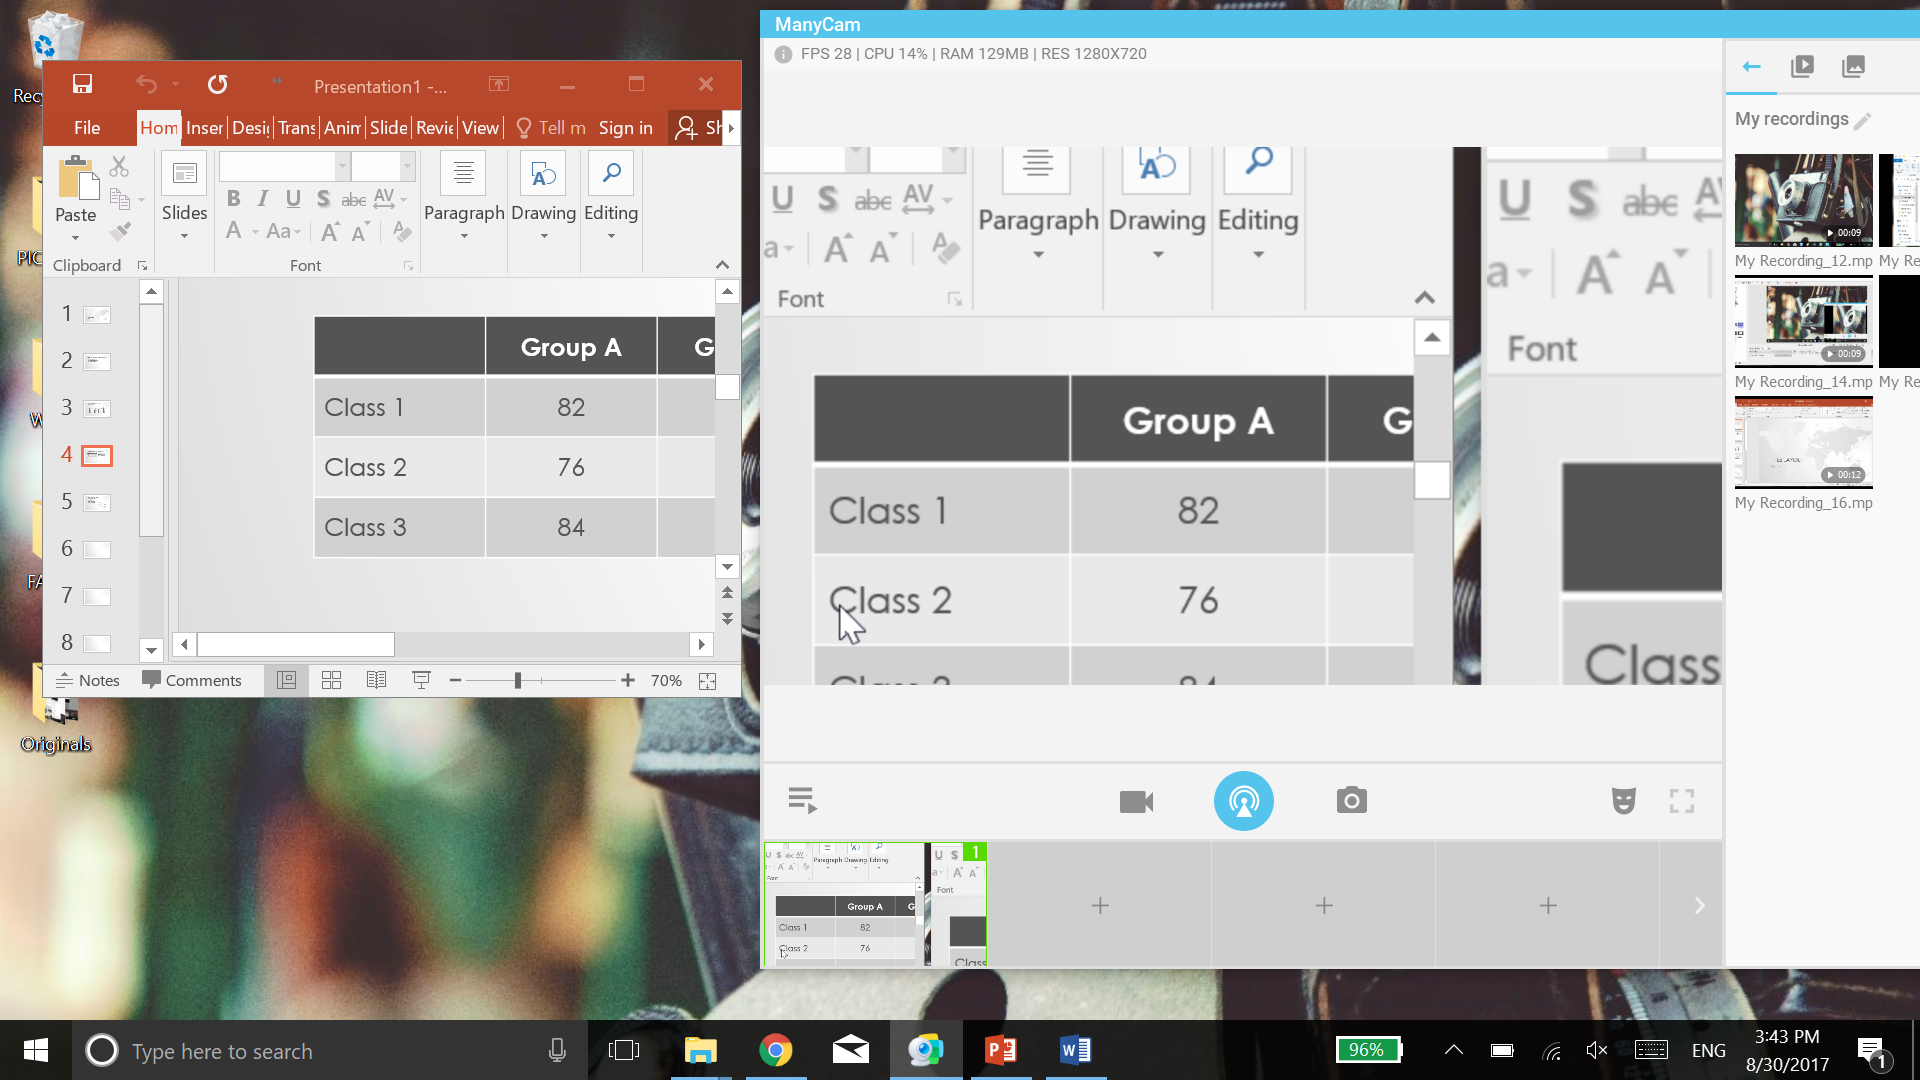
For instance, we’ve chosen to screencast Presentation 1, therefore the selected app is used as a video source for ManyCam. Here is the result after recording our presentation:

Custom area
If your goal is to present a particular area of your screen, then “Custom area” is what you need. Choose an element/area with your cursor and that will be the only visible part to your audience while broadcasting. Take notice that you can also drag and resize the area.
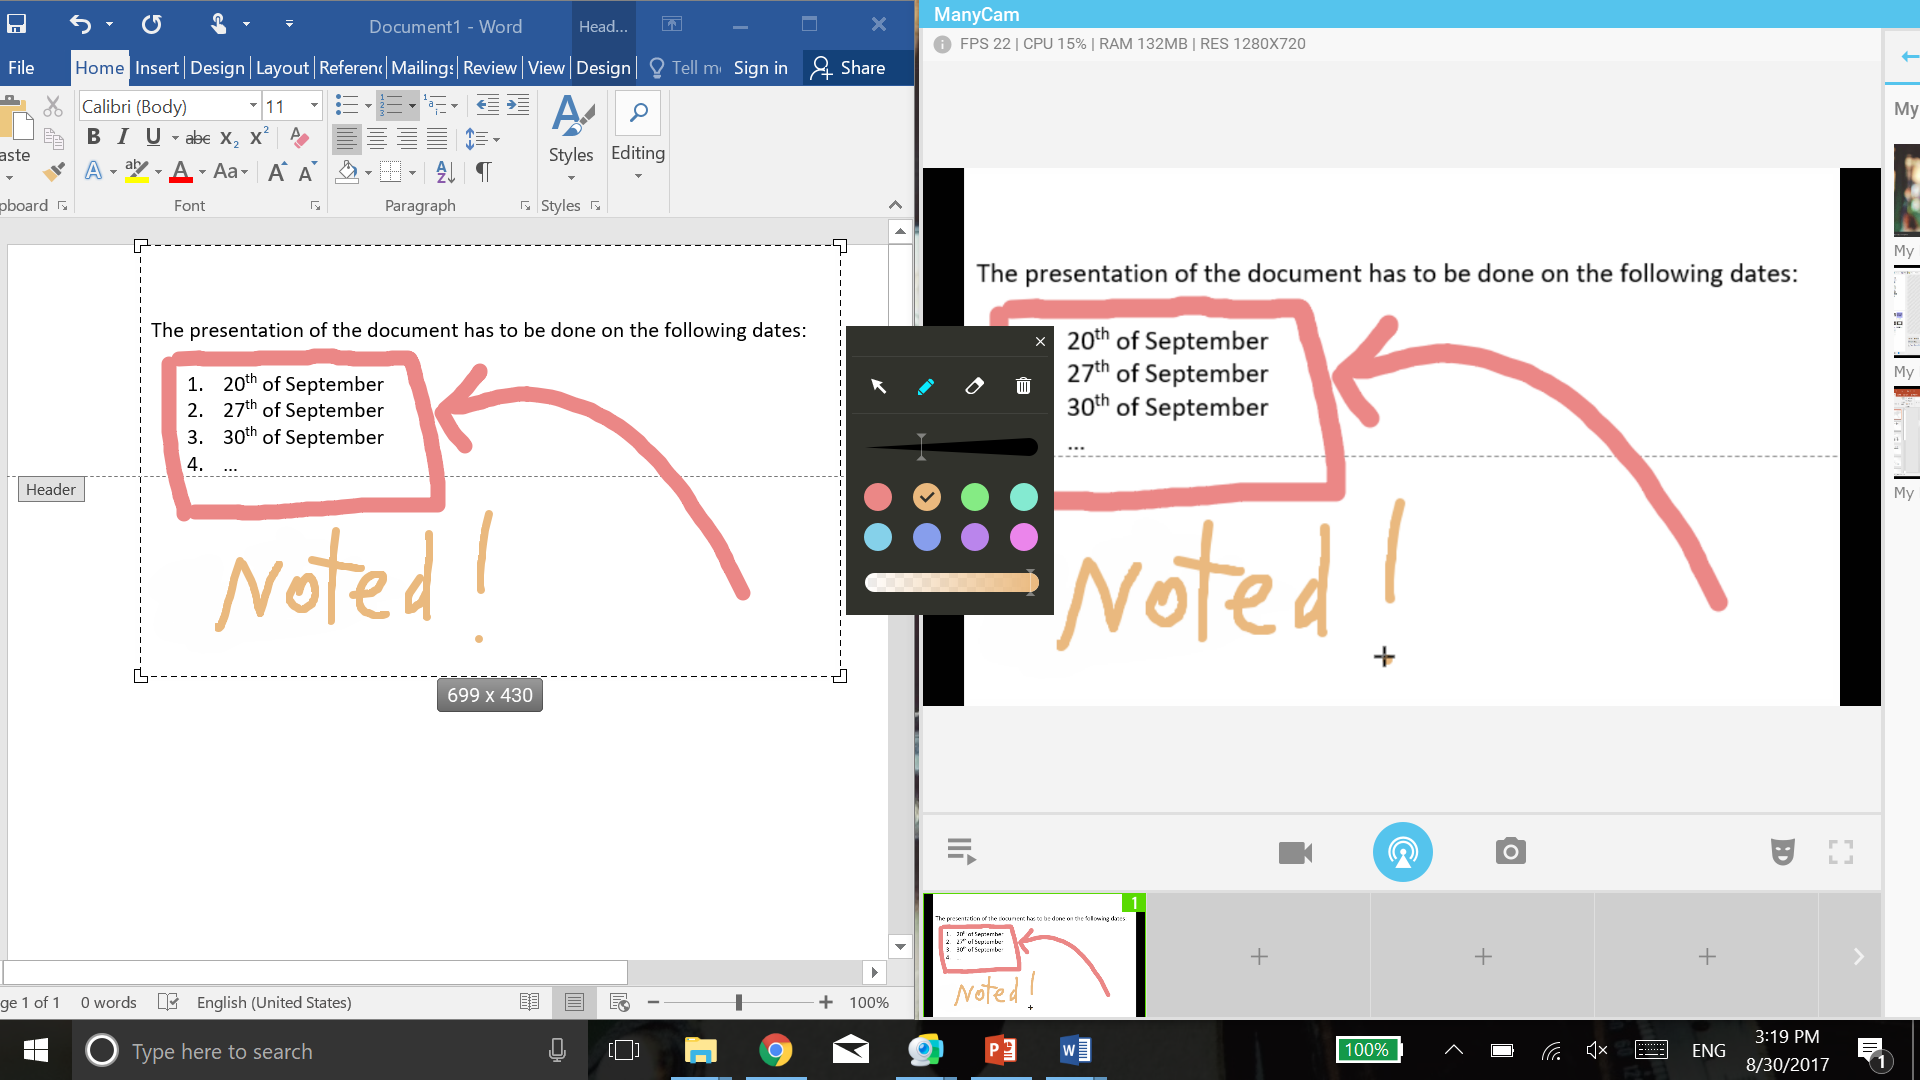
Draw on desktop
Did you know that you can even draw or handwrite on the screen while you’re screencasting your desktop? Isn’t that cool?! Just select from the same menu “Draw on desktop”, minimize ManyCam window and get creative! Simply select the size and color of the brush and start drawing. If you need to correct something, you can always grab the eraser or delete the whole thing and start again.
Before using this feature, don’t forget to select one of the desktop capture modes first, “Custom area”, “Fullscreen” or “Area captured by cursor”, to make sure everyone can see your creative drawings!
Settings
After going through all the desktop capture modes and tools, let’s have a quick look at the “Desktop settings” located conveniently in the same dropdown menu.
- – Capture cursor: You can choose whether to show or hide your cursor on the video.
- – Capture layered windows: Unchecking this option might slightly improve performance but keep in mind that some menus may not be captured.
- – Animate mouse clicks: Select whether animation around your cursor is necessary. By default, it is activated but you can turn it off at any time.
- – Show rectangle around cursor: Shows red rectangle around your cursor while zooming or in “Area around cursor” mode.
- – Stick rectangle to mouse cursor: When using Zoom or “Area around cursor” mode, you can choose whether to move the area immediately after the mouse was moved, or make it follow the cursor.
- – Zoom options: Set up your own hotkeys for Zoom-in and Zoom-out.
Are you ready to screencast your desktop and deliver your content to your audience in the best possible way? Go for it! Let us know how it went in the comment section below.
Don’t have ManyCam yet? Click here and download it now!