Choosing the best live streaming settings for your platform is vital to a successful live video.
Among the many technical aspects surrounding live streaming, there are a few things every streamer should now be able to choose the best live streaming settings for Facebook, YouTube, Twitch and any other platform. The best settings for live streaming are not necessarily the highest quality settings. Apart from the video quality, when it comes to live streaming, bitrates, encoding and latency are just as important.
Understanding Live Streaming Settings
Before you can decide the best live streaming settings for your live videos, you need to know what goes into it. These are a few technical aspects of live streaming of which every streamer should be aware.
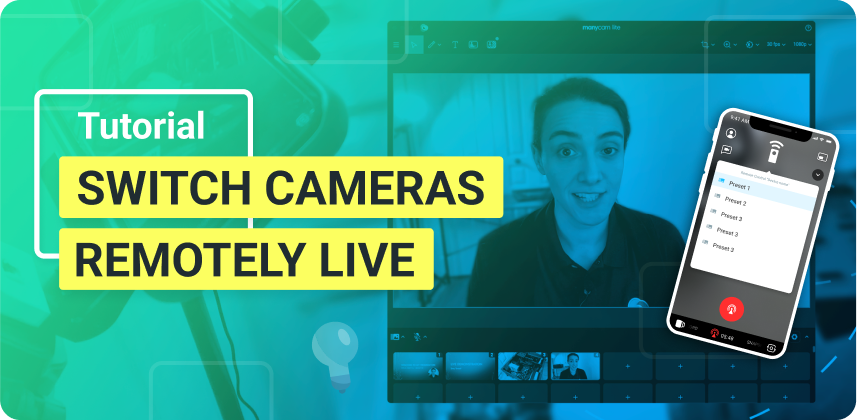
To gain more control over your live streaming settings, download ManyCam for free today!
Video quality
Video quality is one of the most important aspects of video in general. Within video quality, there are 2 things we need to focus on: resolution and frame rate. The resolution is the size of the video on the screen in pixels. One example of a high resolution would be 1080p, which means the screen will be 1920×1080 pixels. We also refer to them as HD (high-definition), SD (standard-definition), and 4K, which is an ultra-high-definition video (2160p).
A video is, in fact, several still images in a sequence. Each image in this sequence is called a frame. So, if the frame rate of a video is 30 fps (frames per second), it means that each second has 30 images. The more frames you have, the smoother the video will be. When you have a low frame rate, like 15 fps, your video will be choppy. Ideally, you should try to stream at a higher frame rate (30 fps). If you want a cinematic look, you can go for the 24 fps which is the frame rate many movies are shot at.
Higher resolution will require a higher bitrate and the higher frame rate takes more from your hardware.
Bitrate – Internet speed
You have a certain amount of available internet bandwidth and part of that is dedicated to uploading. You can run a test at Speedtest.net and find out your upload speed. Bitrates refer to how much data is sent through your live stream. It’s as if the bits “carry” the information from your video to the platform. So, higher resolutions demand higher bitrates.
Your video bitrate and your audio bitrate should always be 20% lower than your upload speed, to keep your live stream stable. If you have 10 Mbps upload speed, your video and audio should be less than 8 Mbps. But, keep in mind that higher resolutions will also demand more from the computer.
Always test things before going live, to make sure you’re putting out quality and stable stream. Many live streaming applications already come with presets, so you don’t need to be an expert at bitrates, but it’s important to know what it is.
Encoding & Latency
Encoding is basically taking the video information in this specific format and translating it to a different one, that the live streaming platform understands. An encoder software, like ManyCam, usually has presets to help you determine your encoding power. Some will say, from slow to very fast, others might call it high quality or high speed. Regardless of the name, these presets can help you achieve the quality live stream you want.
The faster the encoding is, the less quality your video will have but the easier it will be to carry out the information. When you choose a slower encoding preset, you will get a better quality but with a bigger delay between what the camera captures and what the viewers see.
Apart from the settings in the software, you can also prepare your live streaming platform. YouTube refers to this delay as live streaming latency. If you want real-time interaction with your viewers, lower latency is a better option, but they might experience more playback buffering. On the other hand, if this isn’t your priority, a normal latency will reduce the buffering.
Platforms and Live Streaming Settings
Each platform has its own specifications. Although they might be similar, it’s important to know what’s different between them to make sure your live streams are stable and have good quality.
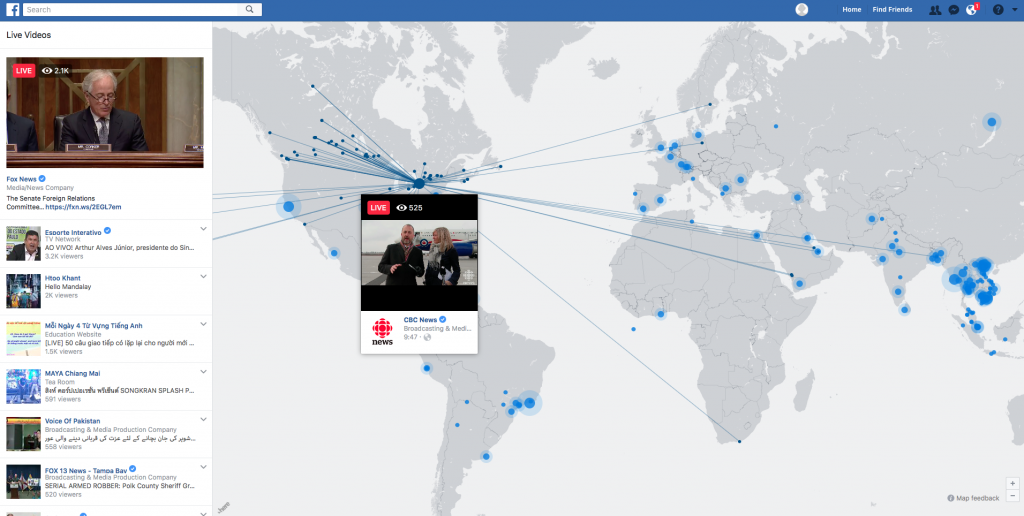
Best Live Streaming Settings for Facebook
Here are the video format guidelines recommended for Facebook Live:
- Recommended max Facebook bitrate is 4000 Kbps (4 Mbps).
- Max resolution: 1080p (1920×1080) resolution, at 60 fps.
- An I-frame (keyframe) must be sent at least every 2 seconds throughout the stream.
- Titles must have fewer than 255 characters or the stream will fail.
- H264 encoded video and AAC encoded audio-only.
Source: Facebook
When compared to YouTube or Twitch, Facebook has a lower quality streaming. The maximum video resolution accepted by Facebook is 1080p, while on YouTube you can have resolutions as high as 4K / 2160p.
Although these are Facebook’s recommended settings, they might not be the best live streaming settings for you. It depends on the equipment you have at hand and your internet speed. To achieve a good quality live stream, you have to run a few tests and see what works best for your setup.
Facebook Live stream latency
For example, try streaming at a lower quality and see how your video turns out. Here, it’s important to analyze the end quality of your stream and the delay between what your camera is capturing and what’s displayed to the viewers (latency). You might be able to get away with a lower quality video because it will “travel” faster through your connection and your viewers will have a more real-time experience.
But, if you need to show images and videos in higher quality, then you will need your internet speed to keep up with your live stream. Even with great bandwidth, delays can happen. You might get a bit more latency, which is not necessarily a bad thing. All it means is the experience will not be as real-time as with lower latency. The advantage here is, it reduces viewers playback buffering.
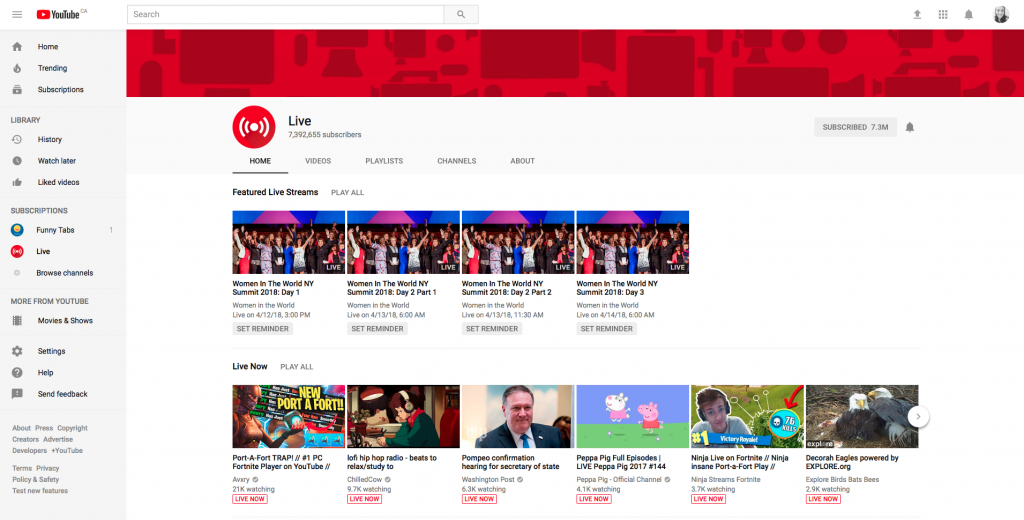
Best Live Streaming Settings for YouTube
For most people, the optimal YouTube live stream settings look like this:
- Resolution: 1080p (1920x1080p)
- FPS: 30 fps or 60 fps
- Video bitrate between 3,000 and 6,000 Kbps.
Here is the full list of YouTube’s best live streaming settings:
Resolutions
- 4K / 2160p (3840x2160p) at 60 fps or 30 fps
- 1440p (2560x1440p) at 60 fps or 30 fps
- 1080p (1920x1080p) at 60 fps or 30 fps
- 720p (1280x720p) at 60 fps or 30 fps
- Or lower.
YouTube streaming bitrate
The suggested streaming bitrate will increase according to the resolution and FPS of your live video. For example:
- 4k videos at 60 fps: 20,000 – 51,000 Kbps
- 4k videos at 30 fps: 13,000 – 34,000 Kbps
- 1440p videos at 60 fps: 9,000 – 18,000 Kbps
- 1440p videos at 30 fps: 6,000 – 13,000 Kbps
- 1080p videos at 60 fps: 4,500 – 9,000 Kbps
- 1080p videos at 30 fps: 3,000 – 6,000 Kbps
The best YouYube bitrate settings for your stream can vary greatly because it relies on many factors. If you are unsure of the best bitrate for your stream, you can leverage a live encoder software such as ManyCam, which can define it automatically for you to achieve the best possible quality.
Encoder settings
Protocol: RTMP Streaming
Video codec:
- H.264, 4.1 for up to 1080p 30 FPS
- H.264, 4.2 for 1080p 60 FPS
- H.264, 5.0 for 1440p 30 FPS
- H.264, 5.1 for 1440p 60 FPS
- H.264, 5.1 for 2160p 30 FPS
- H.264, 5.2 for 2160p 60 FPS
Frame rate: up to 60 fps
Keyframe frequency: Recommended 2 seconds (do not exceed 4 seconds)
Audio codec: AAC or MP3
Bitrate Encoding: CBR
Recommended advanced settings
- Pixel aspect ratio: Square
- Frame types: Progressive Scan, 2 B-Frames, 1 Reference Frame
- Entropy coding: CABAC
- Audio sample rate: 44.1 KHz
- Audio bitrate: 128 Kbps stereo
Source: YouTube
Since YouTube is a video-first platform, as you can see, there are many options when it comes to live streaming. The best live streaming settings will again depend on your live streaming setup. You should always aim for the highest quality stream, as long as it gives you a reliable stream base.
Most people go for a 1080p resolution, at 30 fps, which will give you a good quality stream and the video bitrate can vary between 3,000 – 6,000 Kbps. As with any other platform, it’s essential to test before going live. Run a speed test to check your upload bitrate. Also, do a test live streaming session. Apart from the quality of the video itself, YouTube recommends testing your audio and movement.
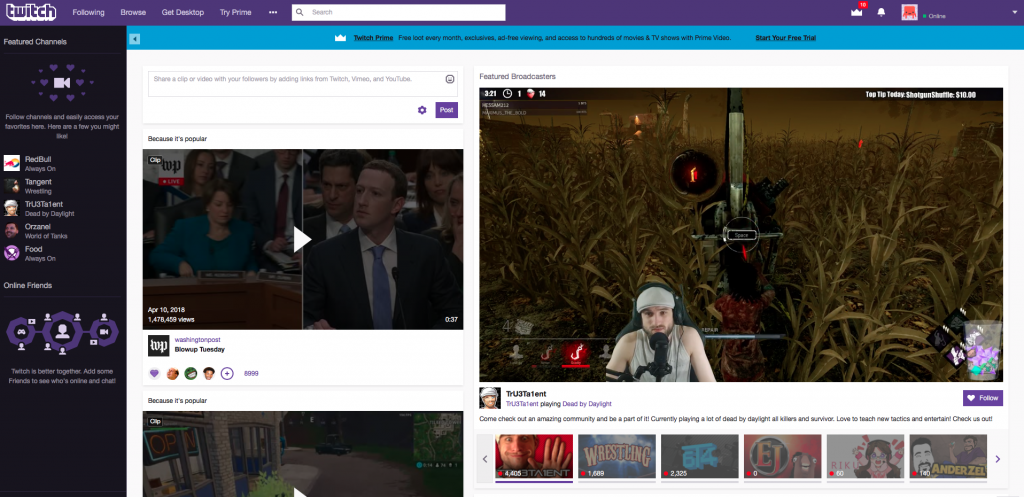
Best Live Streaming Settings for Twitch
Here are Twitch encoding recommendations for live streaming:
Full HD – High frame rate: 1080p at 60 fps
- Technical Specs:
- Vertical Resolution: 1080
- Bitrate: 4500 to 6000 kbps
- Framerate: 60 or 50 fps
- Keyframe Interval: 2 seconds
- AVC (h.264) Profile: Main/High
- AVC (h.264) Level: 4.2
Full HD – Standard frame rate: 1080p at 30 fps
- Technical Specs:
- Vertical Resolution: 1080
- Bitrate: 3500 to 5000 kbps
- Framerate: 30 or 25 fps
- Keyframe Interval: 2 seconds
- AVC (h.264) Profile: Main/High
- AVC (h.264) Level: 4.1
HD – High frame rate: 720p at 60 fps
- Technical Specs:
- Vertical Resolution: 720
- Bitrate: 3500 to 5000 kbps
- Framerate: 60 or 50 fps
- Keyframe Interval: 2 seconds
- AVC (h.264) Profile: Main/High
- AVC (h.264) Level: 4.1
HD – Standard frame rate: 720p at 30 fps
- Technical Specs:
- Vertical Resolution: 720
- Bitrate: 2500 to 4000 kbps
- Framerate: 30 or 25 fps
- Keyframe Interval: 2 seconds
- AVC (h.264) Profile: Main/High
- AVC (h.264) Level: 3.1
For lower settings, check here.
When deciding on the best live streaming settings for your broadcast, you must find the right balance for what your streaming, whether it’s a game or just your webcam, your internet speed and your equipment. Everything will play an important role in the quality and stability of your stream.
Twitch recommends choosing between Encoding presets that you can find in live streaming software applications. Here is a screenshot of ManyCam’s encoding presets, which range from High speed to High quality.
To make it easier to understand, on ManyCam they are named with Speed vs Quality because when you get the best quality, it will be slower and high speed will be of lower quality. So, the faster it is, the less power it uses. In other words, if you choose to encode on slow (high quality), it will require a lot more processing power and it can be hard to do. Especially when streaming games, you need to find the right balance between quality and speed.
Other platforms
Every platform will have its own recommendations when it comes to best live streaming settings. Before going live, make sure you understand their broadcasting guidelines and you’ll be able to achieve good quality with your live stream.
More importantly than researching the platform guidelines, you need to know your hardware and software specifications, and internet speed. This information will come in handy for any live stream you decide to do and it can also show you where you might need upgrades.
Best Live Streaming Settings – Stability over Quality
It all comes down to what is the best quality you can achieve while maintaining a stable broadcast? When the subject is live streaming, stability trumps quality. Although your viewers expect a certain quality level, it’s more important that they are able to watch it continuously without it buffering too much, without it being choppy, or lag.
To find the sweet spot between stability and quality, you will need to run several tests. When determining the best encoding settings for live streaming, you should start with the fastest encoding preset. Make sure that works well. Then, slowly increase the quality to find out when you start losing stability.
Streaming to Multiple Platforms
Whenever you stream to more than one platform, you’ll harness more from your internet and hardware. So, if you stream to multiple platforms at the same time, it’s better to be on the safe side and to go with lower quality settings.
In Summary
Live streaming is all about finding the right balance between quality and stability. Although you should always try to provide the best video and audio quality, it’s more important to have a stable broadcast. Make sure you test out different settings to find out the best live streaming settings for your equipment. Keep an eye on the resolution and frame rate, as well as your bitrates, latency, and overall video performance.
If you want to improve the quality of your streams, take a look at these 11 actionable tips to improve your live streaming quality.
Editor’s note: This post was originally published in April 2018 and has been updated for freshness and accuracy.
Here are other blog posts that you might like:
How to Go Live on Facebook & YouTube at the Same Time
Creating live streams is time-consuming. When you invest your time, you want to make the most out of it. That means reaching as many people within your target audience as you can… (Continue reading)
YouTube Live vs. Facebook Live Comparison – Which is best for live streaming?
Live streams are now, mainstream. Live video has grown faster than most mediums, because it establishes a real-time connection and facilitates a conversation between the streamer and the audience. Nowadays, most social media platforms and video platforms allow you to stream live video. But, between the 2 major platforms, YouTube and Facebook… (Continue reading)