To screencast your desktop is the most effective way of showcasing online products or services. According to Hubspot, 4x as many customers would prefer to watch a video about a product, before making a decision. Commonly known as, to record your screen, screencasting is highly effective for teaching tutorials, onboarding projects and anything related to e-learning, because your viewers are able to follow your actions step by step.
Screencast your Desktop (Record your screen)
If you want to teach someone how to use a specific software, application or website, screencasting is the way to go. While you record your screen, you can narrate your actions, to make sure you’re giving a thorough explanation.
Learn more about the different ways of screencasting your desktop here.
Record your Live Streaming
Before you actually go live, you can do a dry run by recording the whole video. Act as if you’re presenting the real live stream. Afterwards, you can use the recording to analyze your script, your materials and equipment. Here is a checklist of everything you need to do before a live stream.
You can also record your whole live stream and share it later on with your social media followers, in case they missed the live event. The recorded video will become a valuable piece of content and you’ll be able to make the most out of your live streaming.
How to record your screen with ManyCam
If you don’t have ManyCam installed yet, download it here.
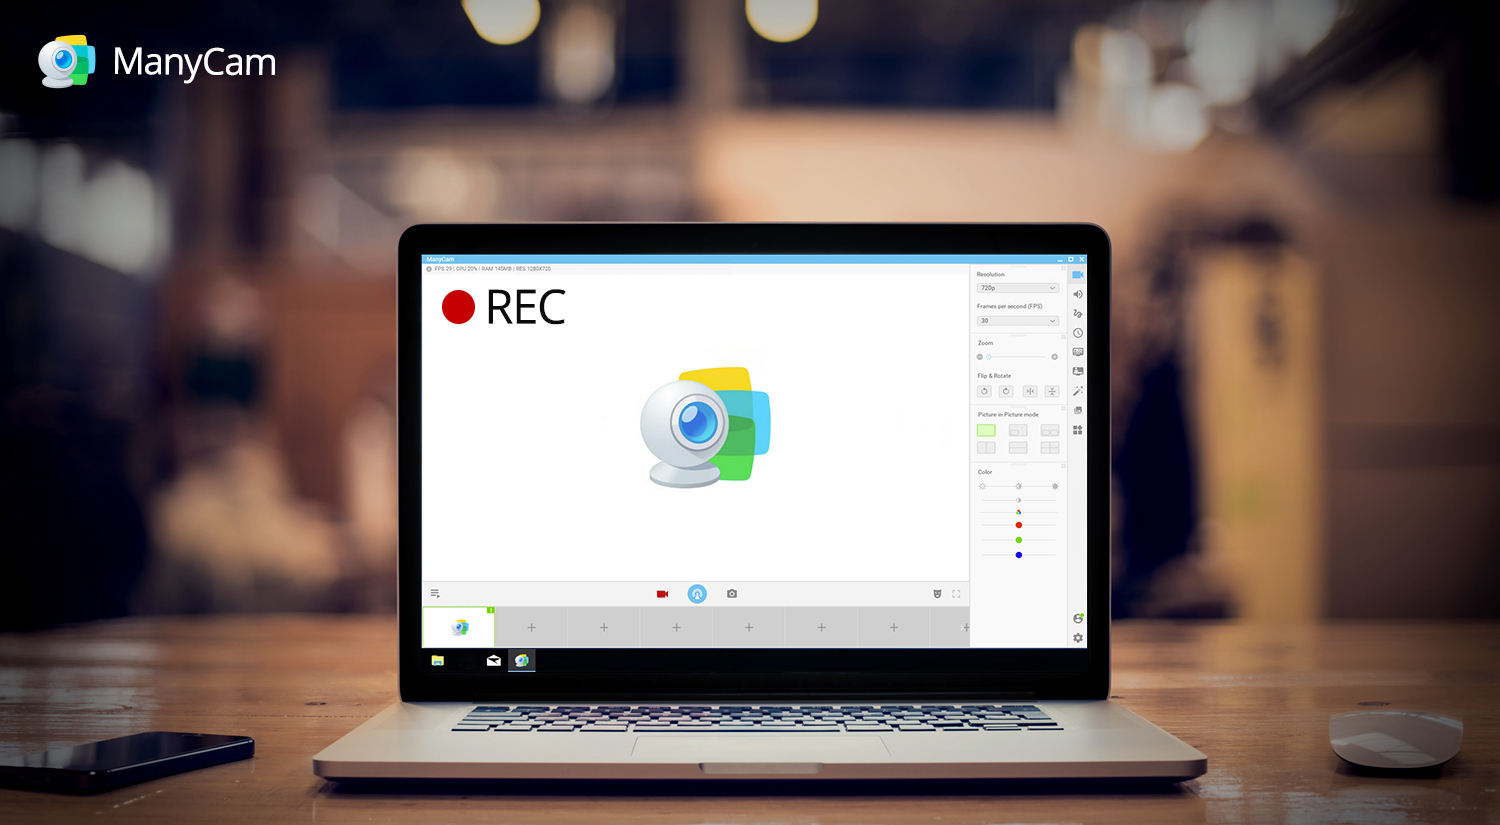
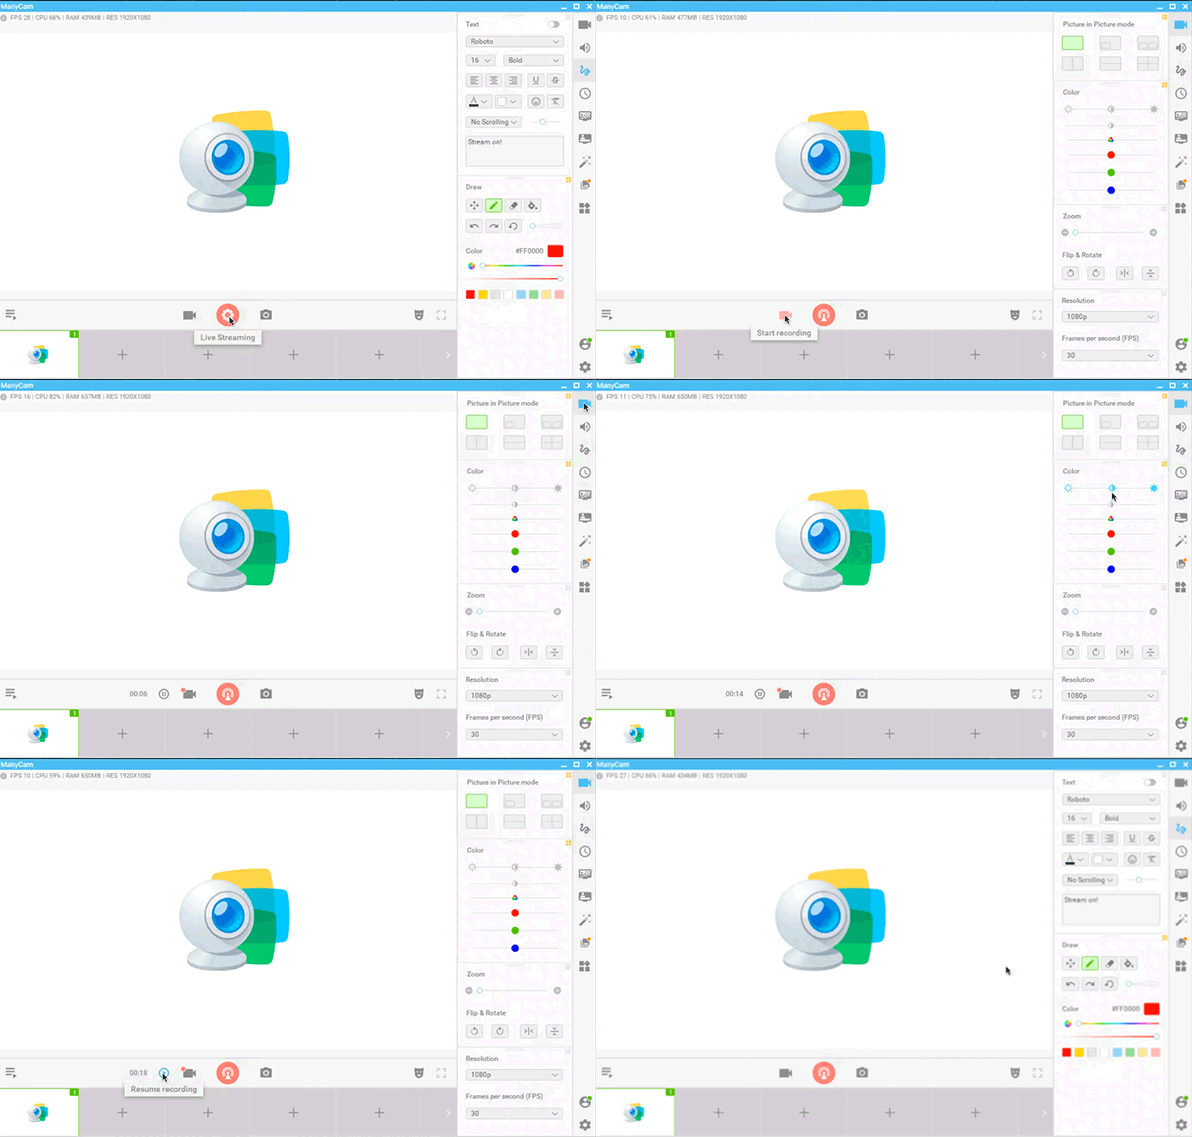
Once you open the software, you can see the “Record” button right next to the “Broadcast” button, just like this:
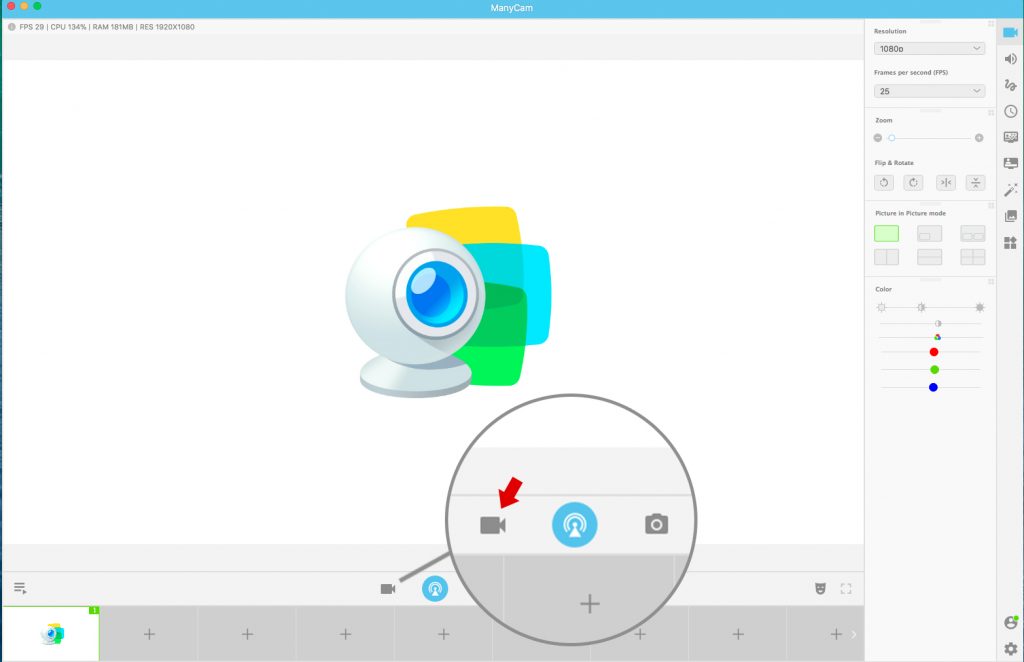
To start recording, all you need to do is hit the record button and ManyCam will start recording the scene. As for the scene itself, you can choose between various setups, based on the possible video sources you can insert and screencasting options. Learn more about screencasting live here.
Here are some of the possible setups:
- – Record your desktop
- – Select an area of your screen to be recorded
- – Record a specific app or window
- – Transition from one video source to the next (while recording)
This last option allows you to record your entire live stream or video conference. ManyCam will then save the recorded video on your computer.
If you want to record different segments of a presentation, you can always pause it and resume the recording, which means, by the end of it, you’ll have 1 video file with all the parts that you recorded.
Conclusion
As you can see, with ManyCam, turning your actions on your desktop and live stream into videos is really easy. Recording your screen can be a very compelling teaching method and it will save you time, because you won’t have to do the same process every time.
To record your screen, your live streams or create video tutorials, get ManyCam today!
P.S. All saved videos can be added as video sources on your next live stream, too. So, you’ll have a never-ending content cycle =)
